
Ender-3 V3 SE Z Offset: Fix First-Layer Problems
Run automatic leveling, then watch a short first-layer test. If the nozzle is too high across the plate, move it slightly closer using Z-offset compensation. If it is pressing into the surface, move it farther away. Stop the print immediately if the nozzle scrapes the plate. A problem confined to one corner needs a plate or leveling check before you change the offset for the entire bed.
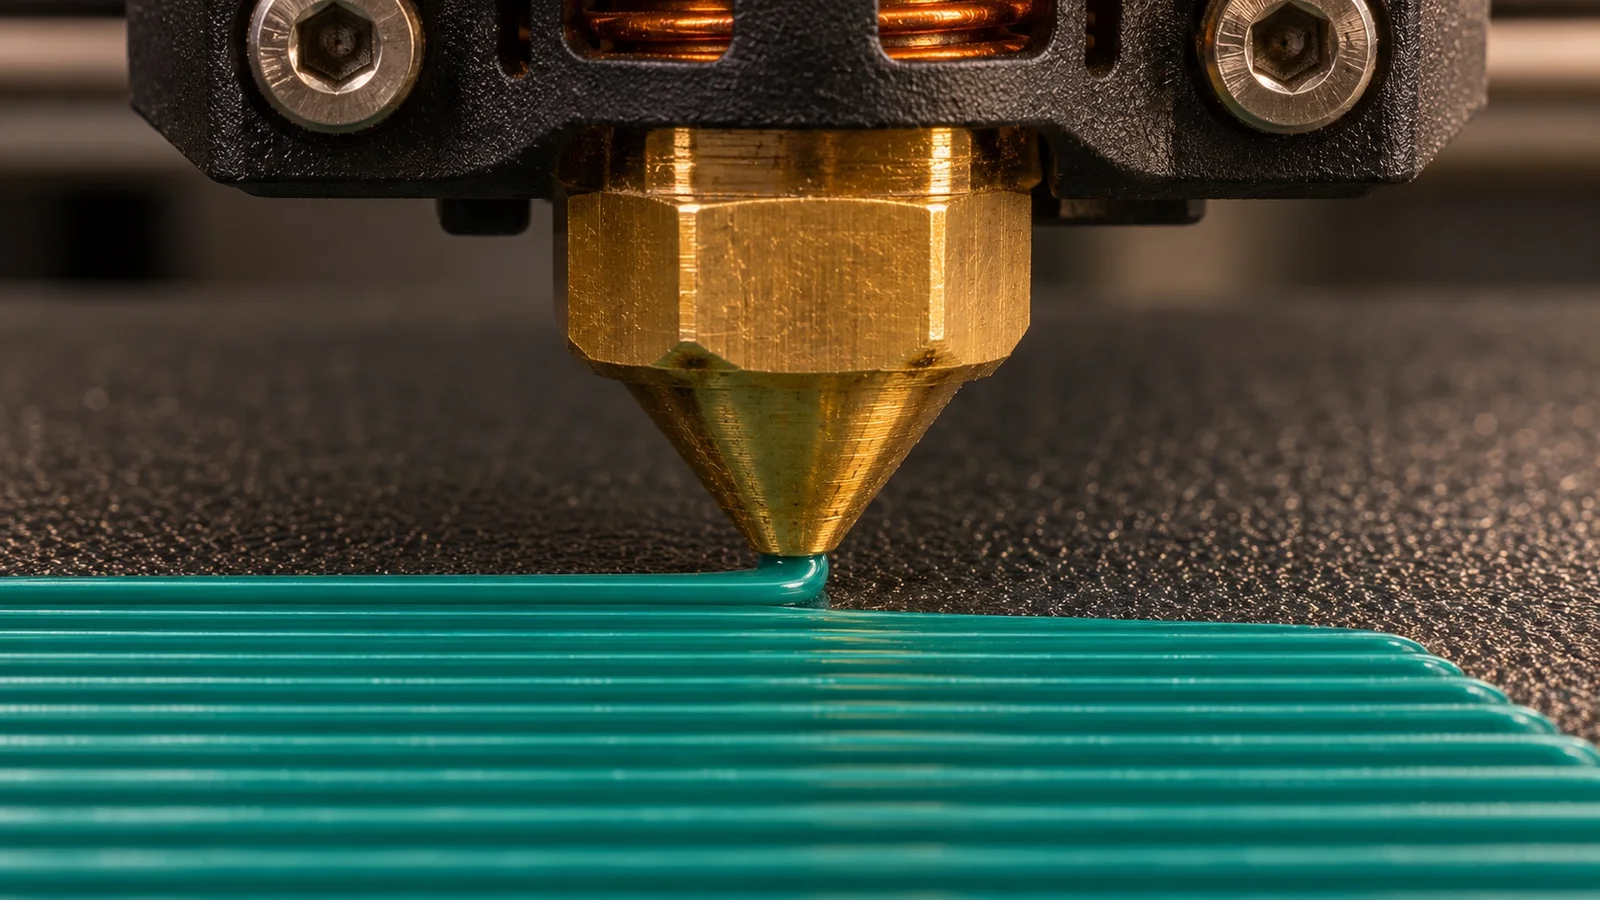
Run automatic leveling, then watch a short first-layer test. If the nozzle is too high across the plate, move it slightly closer using Z-offset compensation. If it is pressing into the surface, move it farther away. Stop the print immediately if the nozzle scrapes the plate. A problem confined to one corner needs a plate or leveling check before you change the offset for the entire bed.
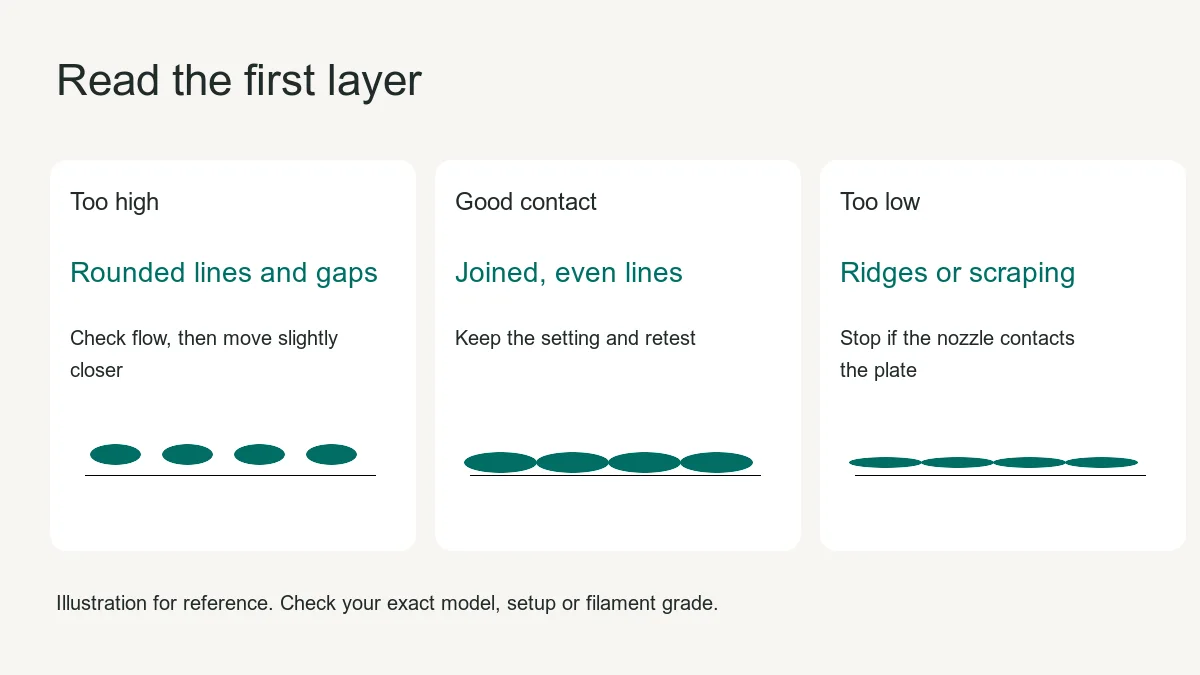
What is Z offset?
Think of it as the height of the nozzle above the build plate when the first layer goes down. Too high, and the plastic lines can stay round and separate. Too low, and the nozzle can squash the lines or scrape the surface. The goal is an even layer of joined lines.
First layer not sticking? Check the pattern first
Z offset changes the nozzle’s starting distance from the build surface. Bed leveling compensates for height differences across the surface. They affect the same print, so the pattern of the failure matters.
| What you see | What it suggests | What to do first |
|---|---|---|
| Loose rounded lines and gaps across the test | The nozzle may be too far from the surface. | Check for surface contamination and interrupted extrusion. If both are clear, move the nozzle a small step closer. |
| Thin, squeezed lines, raised ridges or scraping | The nozzle may be too close. | Stop if the nozzle contacts the plate. Check for damage and increase clearance before retesting. |
| Good lines in the center but poor adhesion in one corner | A local plate, seating or leveling issue is more likely. | Reseat the plate, check for debris underneath and rerun leveling. |
| Similar gaps remain after offset changes | Flow, material or first-layer settings may be involved. | Confirm the filament feeds, check the profile and run the test with known material. |
| Automatic readings change substantially between runs | A repeatability issue needs investigation. | Inspect the nozzle and plate, record repeated results and consult the model-specific troubleshooting guide. |
A useful result is an even patch with joined lines and consistent adhesion. The numeric value matters as a record for that machine and setup.
Step by step on the V3 SE
- Prepare the surface. With the printer in a safe state, remove any debris between the sheet and the bed. Follow the sheet manufacturer’s cleaning instructions. Inspect the nozzle for material buildup that could affect leveling. Keep hands clear of hot and moving components.
- Run the machine’s automatic leveling routine. Use the V3 SE’s leveling controls and wait for the routine to finish. Record the initial offset. If the printer reports a leveling fault or the nozzle makes unexpected contact, stop and consult the Creality troubleshooting guide.
- Start a short first-layer pattern. Use a known material and profile. A center patch plus a few smaller patches around the usable area will help distinguish a global height issue from a local one. Watch the first lines before committing to a large print.
- Adjust Z compensation a small step at a time. Creality’s V3 SE manual shows Printing → Tune → Z-offset. Wording can differ by firmware. When the display uses signed Z-offset values as shown in the manual, a small change toward a more negative value typically lowers the nozzle, and toward a less negative value raises it. Check the physical result after one small step. Stop if movement or the print differs from what you expect.
- Retest and verify persistence. Repeat the same patch and record the final setting. Check whether the firmware retains the adjustment after the print, restart or new leveling run. Verify again after changing a nozzle, build sheet or other part that affects height.
Sources: Creality V3 SE User Guide and the Creality V3 SE manual, Operation and Use.
What if the problem comes back?
If the whole first layer changes after a nozzle or plate swap, rerun the setup checks and establish a fresh baseline. If only one area fails, use the multi-patch pattern and check the plate before moving every point closer to the nozzle. If the same machine produces inconsistent leveling results under unchanged conditions, save photos of the first layer and notes on the firmware, plate, nozzle and measured offset. Provide those to support so they can diagnose a repeatable symptom.
For a print farm or distributor, keep one test record per sample unit. Include the serial number, firmware, installed surface, filament and profile, initial and final offsets, and whether a second print reproduced the result. Copying one unit’s value to the whole fleet can hide assembly or surface differences.
Run a five-position first-layer check
Print a small single-layer patch at the center and near each corner of the usable area. Observe the first lines at each location. If all patches show round lines and gaps, check extrusion and then test a small global correction. If one corner fails while the rest look good, inspect how the sheet sits and rerun leveling. Record which patch failed rather than averaging the result into one judgment.
Keep a before-and-after record
Note the initial offset, the one change you made, and the result on the next patch. Keep the same spool, temperatures and profile while testing height. If you also change the bed temperature or clean the surface between tests, record that separately. Otherwise, you will not know whether the offset or the other change fixed the problem.
When to stop adjusting
Stop if the nozzle scrapes the sheet, if the printer reports a leveling error, or if repeated passes under the same conditions produce conflicting results. Photograph the affected area and save the firmware version, plate type, nozzle and offset record. Use the V3 SE support guide for the specific symptom before attempting further adjustment.
Check the V3 SE specifications · Read the SUNLU PLA settings guide